Set Up Microsoft Entra SSO in Fenerum
Guide to set up Microsoft Entra SSO in Fenerum
This guide walks you step-by-step through configuring Single Sign-On (SSO) via Microsoft Entra ID (Azure AD) for Fenerum.
Step 1: Create a New Application
- Log in to the Microsoft Entra admin center
- Navigate to Enterprise applications from the left-hand menu.
- Select All applications** to view your existing apps.
- Click + New application.

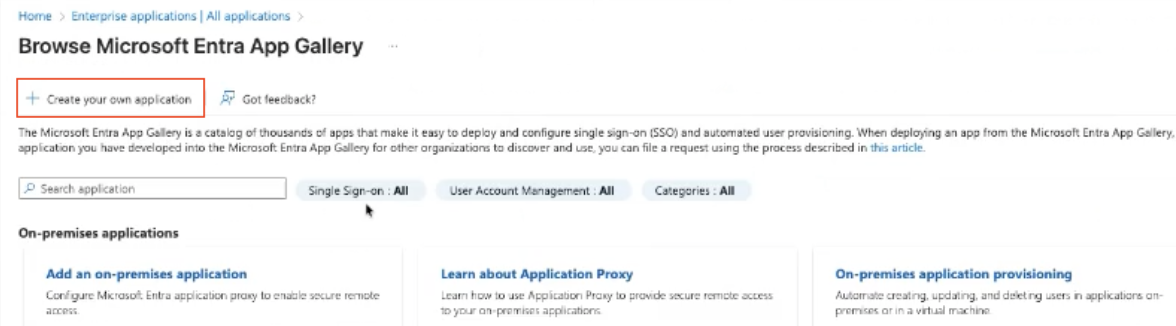
Step 2: Create Your Own Application
- On the Browse Microsoft Entra App Gallery page, click + Create your own application.
- This allows you to create a custom (Non-gallery) application.
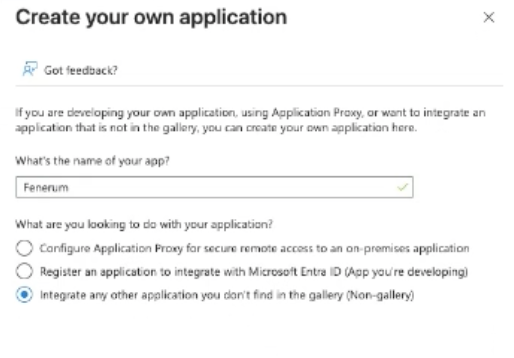
Step 3: Name and Create the Application
- Enter Fenerum as the name.
- Choose: Integrate any other application you don’t find in the gallery (Non-gallery)
- Click Create.
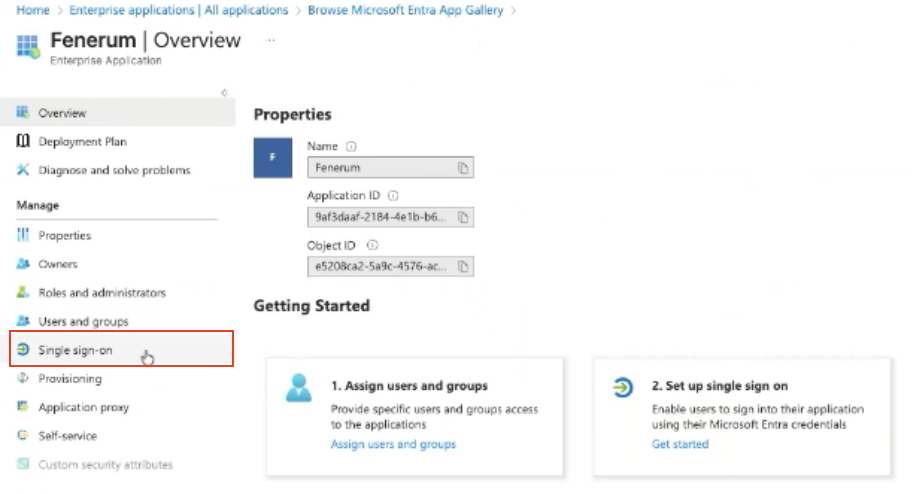
Step 4: Go to the Single Sign-On Setup
- Once the application is created, you’ll be taken to the Overview page.
- From the left-hand menu, select Single sign-on.
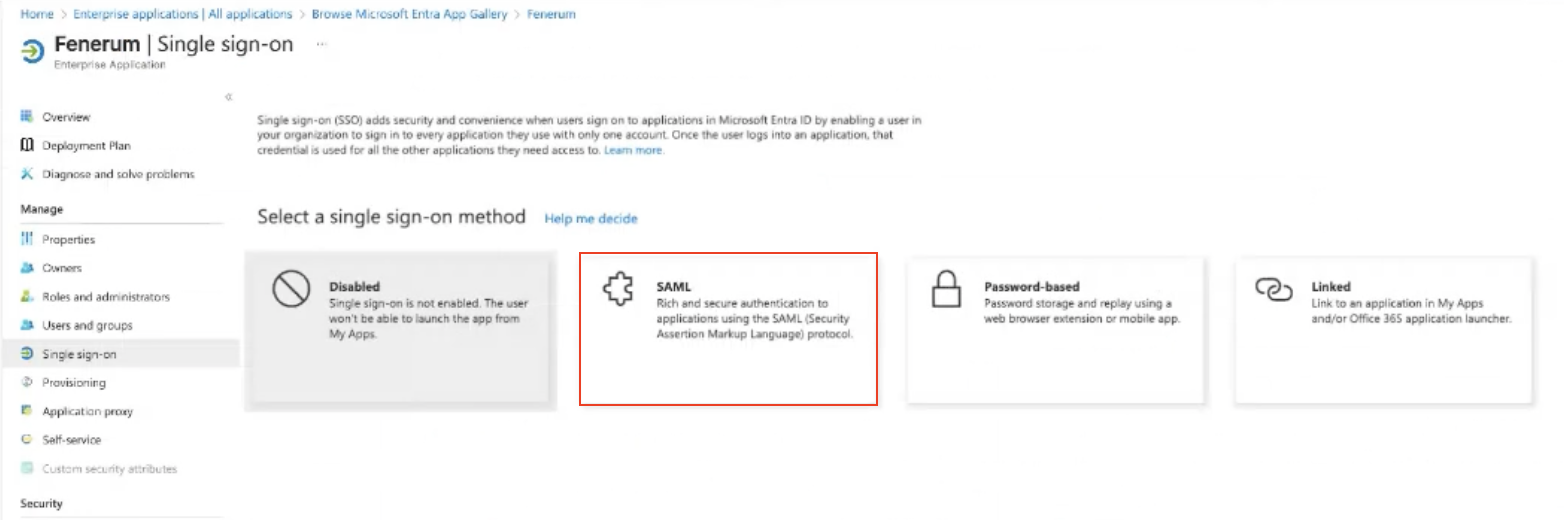
Step 5: Choose SAML as the SSO Method
- On the select a single sign-on method page, click SAML.
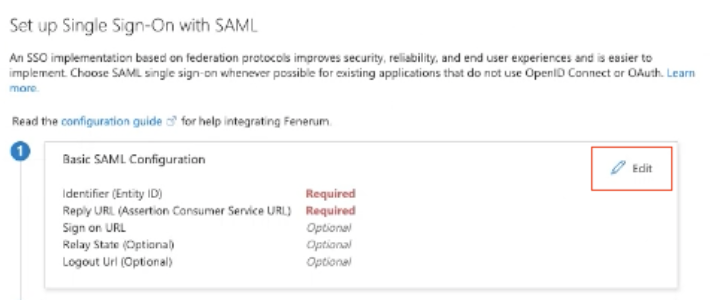
Step 6: Start the SAML Configuration
- Under Basic SAML Configuration, click Edit.
- You’ll now need to enter Fenerum’s SAML URLs.
Step 7: Fill in the Basic SAML Configuration
*Identifier (Entity ID): 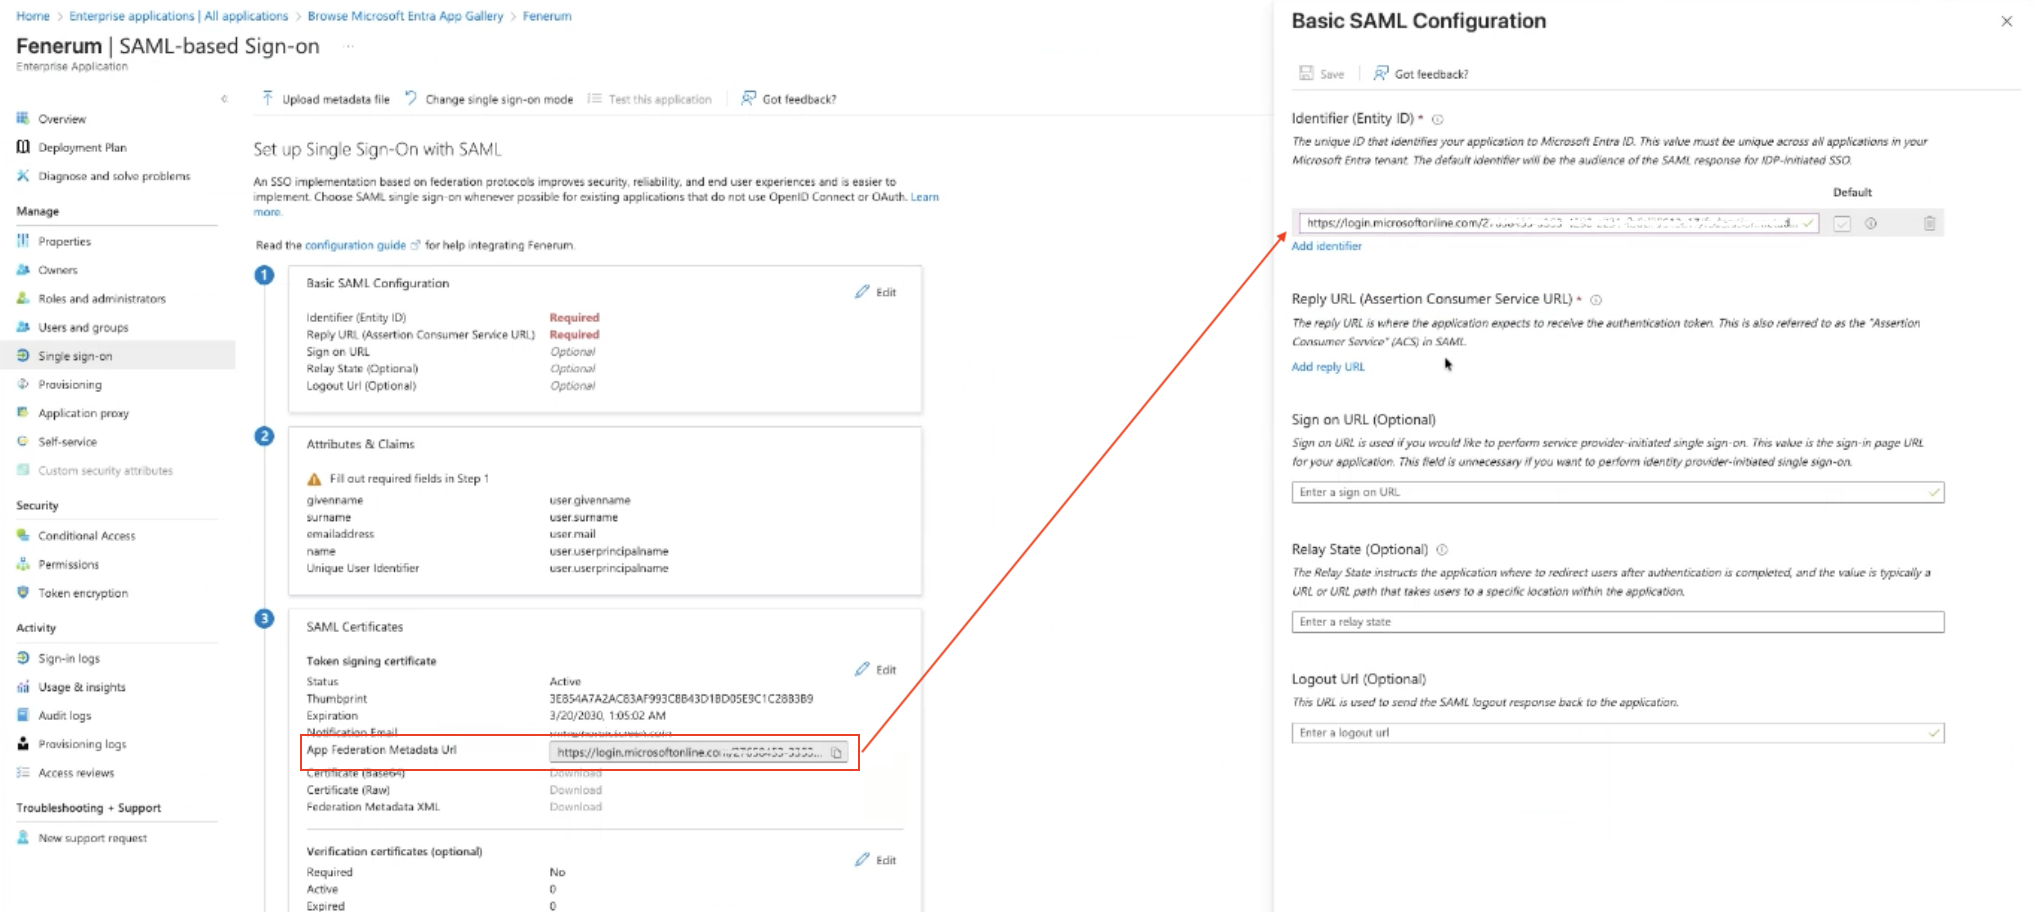
*Reply URL (Assertion Consumer Service URL): Go to https://app.fenerum.com/organization/settings/integrations/ and copy the link under "Individual login URL". In the link, you must replace /login/ with /auth/. 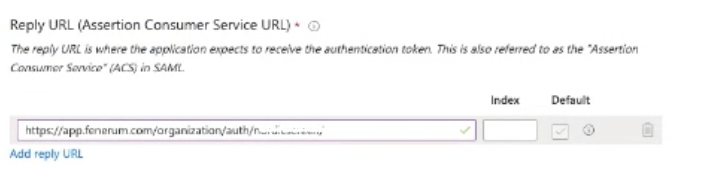
*Sign on URL: Go to https://app.fenerum.com/organization/settings/integrations/ and copy the link under "Individual login URL" 
*Relay State: Leave blank 
*Logout URL: Type: https://app.fenerum.com/logout/ 
Click Save at the top of the Basic SAML Configuration page to store your settings. 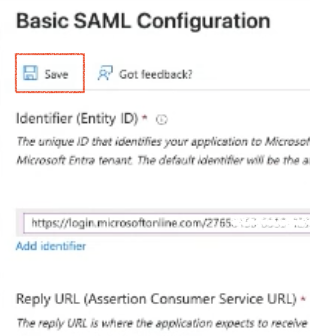
Step 8: Verify Attributes & Claims
Ensure the following attributes are correctly configured: 
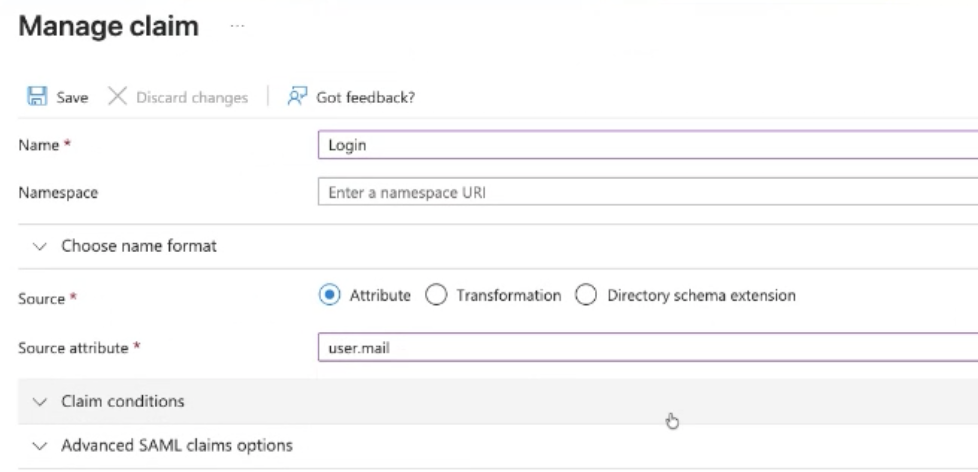
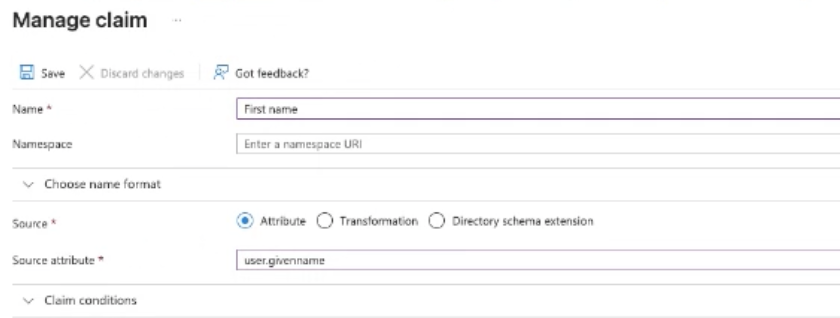
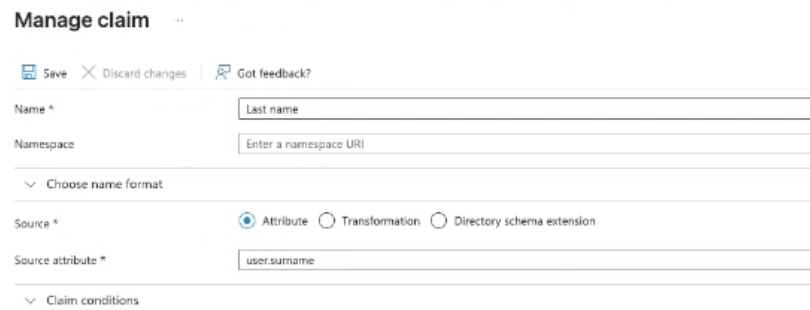
If any values are missing or incorrect, click Add new Claim and update them. Often, "Login", "First name", and "Last name" are missing, and we show below how to create them.
- Add the following entries and click Save after each:
Step 10: Copy the App Federation Metadata URL and Send It to Fenerum
- Go to the SAML Certificates section.
- Copy the App Federation Metadata Url.

- Send the URL to support@fenerum.com.
Recommended email content: Subject: SSO – App Federation Metadata URL for [Your Company Name]
